
Compressing one image is easy. Compressing 400 product photos, consistently, without spending an afternoon on it, is the actual problem most Shopify and WooCommerce sellers face. This guide covers a repeatable batch workflow that scales from a 20-item catalog to a multi-thousand SKU store — including how to organize source files, which settings to apply per group, how to re-upload without breaking SEO, and how to build compression into your ongoing intake process so the problem doesn’t come back.
If you haven’t already settled on your quality and resize targets, read our recommended settings guide first — this workflow assumes you have those numbers ready.
Step 1: Organize before you compress
Batch work falls apart when files are disorganized. Before touching a compressor, group your source images into folders by how they’ll be used — product shots, collection banners, lifestyle/blog imagery, logos. Each group gets its own settings (see our recommended settings guide), so mixing them means re-sorting later anyway.
A practical folder structure for a typical store looks like this:
/source/products/— main product photography, the bulk of most catalogs/source/collections/— category and collection banner images/source/hero/— homepage slideshow and full-bleed banners/source/lifestyle/— blog, lookbook, and lifestyle imagery/source/brand/— logos, icons, and flat graphics (lossless)
Keep your original, unedited source files in a separate archive folder untouched. You’ll compress copies, not the masters — that way if a batch goes wrong or you change settings later, you always have the originals to re-export from.
Step 2: Batch by platform preset, not by folder size
The WebP compressor lets you select Shopify or WooCommerce and applies matching resize presets (product, collection/grid, hero) automatically. Run each image group through the matching preset rather than eyeballing a resize value per batch — consistency across a catalog matters more for visual polish than any single image being perfectly tuned.
- Select your platform (Shopify or WooCommerce) once at the start of the session.
- Pick the preset matching the image group you’re processing (e.g. Product).
- Set the quality for that group (80% for products, 85–90% for hero, 70–75% for thumbnails).
- Drag the entire folder of images for that group into the dropzone at once.
- Let the queue finish, then use “Download all” to pull every converted file in one action.
- Spot-check 3–5 images at 100% zoom before moving on.
- Switch preset and repeat for the next image group (e.g. Collection thumbnails).
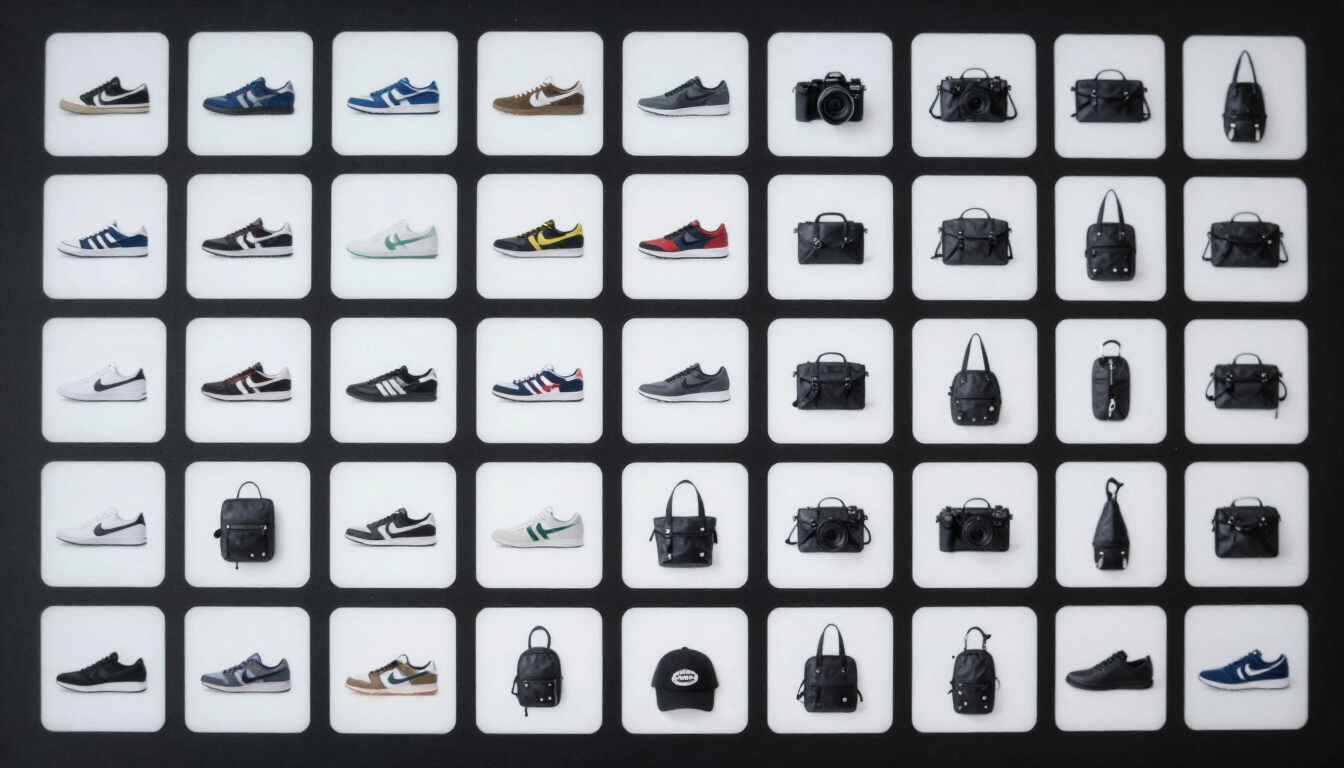
Step 3: Naming and re-upload discipline
Keep the original filename pattern when you re-upload converted images. Both Shopify and WooCommerce reference images by their filename and alt text in several places (SEO metadata, structured data, cached CDN URLs) — swapping in a WebP with a matching name avoids broken references and keeps your existing SEO signal intact.
The compressor preserves the original filename and only changes the extension (e.g. red-leather-bag-01.jpg becomesred-leather-bag-01.webp). This makes re-uploading straightforward: the new file slots into the same logical place the old one occupied.
Re-uploading on Shopify
Shopify doesn’t let you swap the source file behind an existing product image directly — you replace the image on the product page. For a handful of products this is manual but quick. For larger catalogs:
- Use Shopify’s bulk editor or a CSV export/import to update products in batches.
- For new products, simply upload the WebP files as you create the listings.
- Shopify serves WebP automatically to supported browsers, so once the file is in your media library it’s used correctly.
Re-uploading on WooCommerce
WooCommerce (WordPress 5.8+) accepts WebP uploads natively. For existing products:
- Replace the image in the product’s media gallery — WordPress handles the WebP file like any other image.
- For bulk replacement, use a plugin like “Enable Media Replace” to swap the file behind an existing media entry without changing its ID (preserves all references).
- After replacing source images, regenerate thumbnails so WordPress creates the correct sized variants from the new WebP originals — the “Regenerate Thumbnails” plugin handles this in one click.
- For new products, upload WebP directly through the normal media uploader.
Step 4: Build compression into your intake process, not just cleanup
A one-time catalog cleanup fixes existing debt, but new product photos keep arriving. The sellers who keep their store fast treat WebP conversion as a standard step in receiving new photography — right after the shoot, before the images ever touch your CMS.
- Add “compress to WebP” as a checklist item in your product-launch process, alongside writing copy and setting pricing.
- Have whoever edits/retouches photos run the final export through the compressor before handoff — the photographer or VA, not the store owner.
- Document your chosen settings (platform, preset, quality per role) in a shared doc so anyone touching images applies the same numbers.
- Re-check settings quarterly as your theme or product photography style changes — a new camera or a new theme can shift the right targets.
Batching tips for very large catalogs
For catalogs in the thousands of SKUs, process in chunks of 100–200 images per session rather than one giant batch — this keeps browser memory usage manageable and makes it easy to spot-check quality partway through instead of discovering an issue at the very end. The compressor’s summary bar shows aggregate size reduction per batch, which is a useful sanity check that your settings are behaving consistently across different products.
A few practical tips for high-volume stores:
- Process by category, not by date. Images in the same product category tend to share a photography style, so settings hold consistently within a category and you can tune per category if needed.
- Keep a spreadsheet log. Track which batches you’ve completed, the settings used, and the aggregate size reduction. If a batch underperforms, you’ll know which one to revisit.
- Close other browser tabs during large batches. Compression is memory-intensive; freeing up RAM reduces the chance of a tab crash mid-batch.
- Download each batch before starting the next. Don’t let hundreds of processed files accumulate in memory — download and clear between batches.
An illustrative example: cleaning up a 1,200-SKU WooCommerce store
To show the workflow end to end, here’s an illustrative example of what a catalog cleanup could look like. The store in this example has 1,200 products, each with 3–5 images, all originally uploaded as full-resolution JPEGs. The figures are representative, not from a specific real store — your own results will vary.
| Phase | Images processed | Settings | Time |
|---|---|---|---|
| Organize source files | ~4,800 | Sorted into 4 role folders | 1 hour |
| Batch 1: product images | 3,600 | WooCommerce product preset, 82% | ~90 min (18 batches of 200) |
| Batch 2: thumbnails | 1,000 | Catalog preset, 72% | ~25 min |
| Batch 3: collection banners | 140 | Hero preset, 85% | ~10 min |
| Re-upload & regenerate thumbnails | 4,800 | Bulk replace + regenerate | 2 hours |
| Total | 4,800 | — | ~4.5 hours |
In this illustrative example, total media library weight drops substantially, and product page LCP improves because the images transfer and decode faster. The store owner then adds WebP compression to their photographer’s handoff checklist so new products arrive already prepared. Your own time and results will depend on your catalog, settings, and hardware.
Measuring the payoff
After a full catalog pass, re-run a page speed test (PageSpeed Insights or GTmetrix) on your product and collection pages and compare to your before numbers. For a store that was previously serving unoptimized originals, a reduction in total page weight and a lower Largest Contentful Paint are common — the exact figures depend on your images and settings. The metric is covered in detail in our guide on reducing image size for Core Web Vitals.
Track these numbers before and after so you can quantify the change. Images often account for a large share of the bytes on a product page, which is why reducing their weight can have a noticeable effect on how quickly the page loads.
Ready to batch your own catalog? Head to the main compressor and drop in your first folder. For the settings to use per image role, see our compression settings guide.