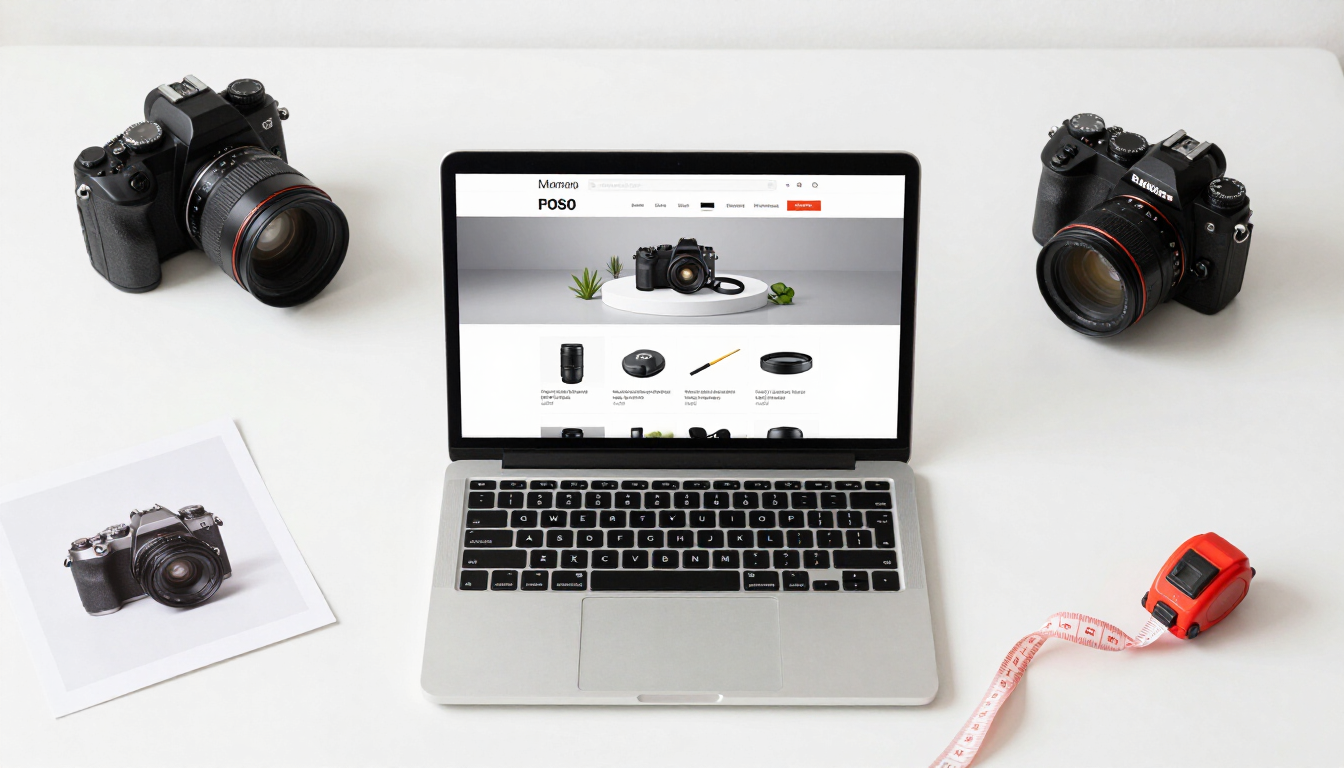
Large product images are one of the most common reasons an online store loads slowly — especially on mobile devices, where most shoppers now browse. A single camera-original photo can weigh several megabytes, and a product page with six or eight of them can easily push past 20 MB before a single word of copy loads. The goal of product image optimization is simple: reduce file size while preserving enough visual quality for shoppers to trust and judge the product.
This guide walks through the full process — choosing a format, picking the right dimensions, finding a compression level that keeps detail, and running a repeatable workflow using Store Asset Hub’s browser-based compressor. It is written for store owners, not engineers, and every recommendation is a starting point to test on your own images.
Why product image optimization matters
Images are usually the heaviest part of an ecommerce page, so they have the largest effect on how quickly that page becomes usable. Optimizing them can bring several potential benefits:
- Faster page loading. Smaller files transfer and decode more quickly, so shoppers see the product sooner.
- Better mobile shopping experiences. Phones on slower connections feel the impact of heavy images most acutely.
- Lower bandwidth usage. Less data transferred per pageview can reduce hosting and CDN costs for stores with significant traffic.
- Better user experience. Pages that load promptly are less likely to frustrate shoppers who are deciding whether to stay.
- Reduced risk of shoppers leaving before the page loads. Slow-loading pages are a common reason visitors abandon a site before it finishes rendering.
- Maintaining product detail and visual quality. Done correctly, optimization preserves the fine detail shoppers rely on to judge a product.
These are potential benefits, not guaranteed outcomes. Actual results depend on your images, theme, server, and traffic. The point is that image weight is one of the few performance levers a store owner controls directly, and the work compounds across every product page.
What is the best format for product images?
Three formats cover virtually every product image need on the web: JPEG, PNG, and WebP. Each has a use case it was designed for, and choosing the right one is the first optimization decision.
WebP for most product photos
WebP is a modern image format designed specifically for the web, and it is commonly useful for photographs and store images for several reasons:
- Smaller files than many JPEG images at a comparable visual quality, which means less data transferred per pageview.
- Good visual quality at reasonable compression levels, preserving the detail shoppers use to judge a product.
- Supports transparency when needed, so a single format can cover both photographs and cut-out product shots.
- Supported by modern browsers, including every current version of Chrome, Firefox, Safari, and Edge — which covers effectively all store traffic today.
For most stores, converting product photography to WebP is the single highest-impact change you can make. You can test it on your own images using the WebP compressor.
JPEG versus PNG versus WebP
Each format has a job it does best:
| Format | Best for | Notes |
|---|---|---|
| JPEG | Photographs and complex images with many colors and gradients | Universally supported, but typically larger than WebP at similar quality. |
| PNG | Transparency, logos, screenshots, and graphics with sharp edges | Lossless, but file sizes are large for photography. |
| WebP | A flexible modern format for many product photos and web graphics | Supports both lossy and lossless modes plus transparency; smaller files in most cases. |
A practical rule: use WebP for product photography, lossless WebP (or PNG) for logos and graphics with hard edges, and reserve JPEG only as a fallback for very old browsers. For the full technical breakdown, read our WebP vs JPG vs PNG comparison.
Recommended product image dimensions
There is no single “correct” product image size — the right dimensions depend on your store platform, theme, whether you offer a zoom feature, and the product type. What matters is that the image is large enough to look sharp at the size it actually renders, without being so large that the browser downloads pixels no shopper will ever see.
Practical starting points for most stores:
- Standard product image: around 1,000 to 1,500 pixels on the longest side. Covers most product-page main images on modern themes.
- Larger zoomable product image: around 1,500 to 2,000 pixels on the longest side. Use when your theme offers click-to-zoom or a lightbox.
- Thumbnail images: smaller versions generated by the store where possible. Shopify and WooCommerce both create these automatically from the source file you upload.
- Square product grids: use consistent square dimensions (commonly 1000×1000 or 2048×2048) so the grid aligns without the theme cropping unpredictably.
For platform-specific slot sizes, see our Shopify image optimization and WooCommerce image optimization guides.
Do not enlarge a small original image. Upscaling adds no real detail — the browser can only invent pixels through interpolation, which makes the image look soft or blurry without recovering any actual product detail. If your source photo is too small for the slot, the only real fix is to re-shoot or re-export at a higher resolution.
How much should you compress product photos?
Compression is a balance between quality and file size. Push too hard and fine detail — fabric texture, small text on labels, reflections — starts to blur or develop blocky artifacts. Don’t push enough and the file stays heavier than it needs to be. The right setting is the smallest file that still looks professional at the size shoppers will see it.
A reliable testing approach:
- Start with moderate compression (around 80% quality for WebP).
- Inspect edges, text, labels, and fine product details at 100% zoom — not just the thumbnail preview.
- Increase compression gradually (drop quality in 5% steps) and re-check.
- Compare the compressed image with the original at the size shoppers will actually see it on the page.
- Choose the smallest file that still looks professional, then lock that setting in for the rest of the catalog.
The ideal setting varies depending on the image — its lighting, background, texture, and the amount of fine detail. A plain-background product shot can usually tolerate more compression than a macro photo of a textured fabric. For a detailed settings sheet by image role, see our guide to the best WebP compression settings for websites.

How to convert JPEG and PNG product photos to WebP
Converting existing product photos to WebP is straightforward with a browser-based tool. The workflow:
- Select a product image in the browser — drag and drop a JPEG or PNG into the compressor.
- Convert it to WebP — the tool re-encodes the image in WebP format.
- Adjust compression or quality — set the quality level and, if needed, a resize width matched to your theme’s image slot.
- Compare the result with the original — check file size and inspect detail at 100% zoom.
- Save the optimized image — download the WebP file to your device.
- Upload it to the store or website — replace the original image in your Shopify or WooCommerce media library.
Store Asset Hub processes the image locally in your browser, so you can prepare it without uploading the original file to a server. This matters for sellers with sensitive or unreleased product photography — your images never leave your device. You can run the full workflow from the WebP compressor.
How to compress product images without losing quality
“Without losing quality” really means “without losing visible quality.” All lossy compression discards some information; the skill is stopping before that loss becomes noticeable. These practices keep quality high while shrinking files:
- Start with a high-quality original. Begin from the full-resolution file straight from your camera or editor — not from an already-compressed JPEG.
- Crop unnecessary empty space. Background whitespace around the product adds pixels (and file size) without helping the shopper.
- Resize before compressing. Match the image width to the slot it renders in, then apply quality on top. This is the single most effective size reduction.
- Use consistent backgrounds. Flat, consistent backgrounds compress better than busy ones and make your catalog look uniform.
- Avoid repeated conversion between formats. Each JPEG→PNG→JPEG cycle compounds generation loss. Convert once, from the original, to your final format.
- Inspect small text and product edges. These are where compression artifacts show up first — check them at 100% zoom.
- Keep original files as backups. Never overwrite your only high-resolution original with the compressed version.
- Compare file size and visual quality together. A smaller file that looks identical to the shopper is the win; a smaller file that looks worse is not.
For a deeper dive into the science of compression and per-category quality floors, read how to compress WebP without losing quality.
Common product image optimization mistakes
Most image problems on stores come from a handful of repeatable mistakes. Avoid these and you are ahead of most catalogs:
- Uploading full-resolution camera files. A 6000px, 5 MB photo served into a 600px container wastes bandwidth with no visual benefit.
- Using PNG for every photograph. PNG is lossless and far larger than necessary for photography — reserve it for graphics with sharp edges.
- Compressing images until details disappear. Pushing quality too low destroys the texture and text shoppers use to judge the product.
- Using inconsistent image dimensions. Mixed sizes make product grids look uneven and force the theme to crop unpredictably.
- Enlarging low-resolution images. Upscaling invents pixels and looks soft — re-shoot or re-export instead.
- Repeatedly editing and exporting the same file. Each re-export at lossy quality compounds artifacts (generation loss).
- Forgetting mobile users. Most traffic is mobile; images that look fine on a 27″ monitor can still crush a phone’s load time.
- Removing image quality from important product details. Don’t over-compress the very areas (fabric, labels, finishes) that sell the product.
- Using filenames such as
IMG_4837.jpg. Generic camera filenames tell search engines and screen readers nothing — see the naming section below.
Best product image settings by image type
Different product types compress differently because they contain different amounts of fine detail. Here are practical starting points for common categories.
Product photos on white backgrounds
Focus on clean edges, consistent dimensions, and moderate compression. The large flat white area compresses very efficiently, so you can usually hold a slightly lower quality (around 78–82%) while keeping the product silhouette crisp. Keep dimensions consistent across the catalog so the grid aligns.
Clothing and fashion images
Preserve fabric texture, stitching, and color accuracy. These details are what shoppers use to judge material quality, so keep quality at 80–85% and inspect weave and stitching at 100% zoom. Ensure the export color space is sRGB so colors render consistently across browsers.
Jewelry and small products
Use enough resolution to preserve fine details (reflections, facets, engravings), but inspect file size carefully — macro shots of shiny surfaces can produce large files. A quality floor around 82–85% is a reasonable starting point, and a larger zoomable dimension (1500–2000px) is often justified.
Products containing text or labels
Prioritize legibility over maximum compression. Small text on packaging is where compression artifacts appear first, so test at 100% zoom and raise quality until text stays crisp. A floor of 82–85% is usually safe.
Transparent product images
When the product needs a transparent background (a cut-out shot overlaid on a colored theme), JPEG is not an option because it does not support transparency. Use PNG, or — for smaller files — WebP with transparency. Lossless WebP with alpha is typically 20–30% smaller than the equivalent PNG with identical visual output, and is supported by all modern browsers.
How to name product image files for SEO
Filenames are a small but real SEO signal, and they help with accessibility and organization. Use descriptive filenames that accurately describe the image:
black-leather-wallet.webpblue-cotton-shirt-front.webpwireless-keyboard-side-view.webp
Separate words with hyphens (not underscores), keep it lowercase, and describe what is actually in the image. Filenames should describe the image accurately and should not be stuffed with unrelated keywords — a file named cheap-buy-online-best-price-wallet.webp helps no one and can read as spam. Pair a good filename with accurate alt text for the strongest accessibility and SEO outcome.
Product image optimization checklist
Run through this checklist before publishing a product image:
- The image is relevant to the product.
- The dimensions fit the store’s layout.
- The file is resized before compression.
- WebP was tested where appropriate.
- Product details remain clear at 100% zoom.
- The image works on mobile (tested on a real phone or throttled connection).
- The filename is descriptive.
- Alt text describes the image accurately.
- The original file is stored safely as a backup.
- The final file is not unnecessarily large.
Frequently asked questions
What is the best image format for ecommerce product photos?
WebP is the best default for most product photography — it produces smaller files than JPEG at comparable quality and is supported by all modern browsers. Use lossless WebP or PNG for logos and graphics with sharp edges.
Is WebP better than JPEG for product images?
In most cases, yes. WebP typically produces smaller files than JPEG at a similar visual quality, and it also supports transparency and lossless mode. The one caveat is support on very old browsers, which is rarely a concern today.
What dimensions should ecommerce product images be?
A standard product image is around 1,000 to 1,500 pixels on the longest side; a zoomable image is around 1,500 to 2,000 pixels. Exact sizes depend on your platform and theme — see our Shopify and WooCommerce guides for platform-specific slot dimensions.
How do I reduce product image file size?
Resize the image to the dimensions it actually renders at, then compress it to WebP at a quality of around 78–85%. Resizing before compressing is usually the largest single reduction. You can do both in the WebP compressor.
Can I compress product photos without losing quality?
You can compress without losing visible quality by starting from a high-quality original, resizing first, and choosing a quality level where fine detail stays crisp at 100% zoom. All lossy compression discards some data; the goal is to stop before that loss is noticeable.
Should product images be square?
Square images are common for product grids because they align cleanly, but they are not required. What matters is consistency — use the same aspect ratio and dimensions across a grid so the theme doesn’t crop unpredictably.
Is PNG or WebP better for transparent product images?
WebP with transparency is usually better — it produces smaller files than PNG with identical visual output and is supported by all modern browsers. Keep PNG only if you need to support very old browsers.
Does converting an image to WebP reduce quality?
Converting to lossy WebP does discard some data, but at a reasonable quality setting (around 80–85%) the difference is usually not visible to shoppers. Converting to lossless WebP preserves quality exactly, at the cost of a larger file.
How can I optimize product images without uploading them?
Store Asset Hub processes images locally in your browser using the Canvas API, so you can resize, compress, and convert to WebP without uploading the original file to a server. Nothing leaves your device.
What image size is best for Shopify or WooCommerce?
For Shopify, uploading product images at 2048px wide is a common starting point. For WooCommerce, the single-product image is often 800–1600px and the catalog thumbnail 600–800px, depending on theme settings. See our platform guides for the exact slot reference.
How should I name product image files?
Use descriptive, lowercase, hyphen-separated filenames that describe what is in the image — for example, black-leather-wallet.webp. Avoid generic camera filenames like IMG_4837.jpg and don’t stuff filenames with unrelated keywords.
Should I keep the original product photos after compression?
Yes. Always keep your full-resolution originals as backups. Compressed files are final delivery assets — if you ever need to re-export at a different size or quality, you will need the original to avoid generation loss.
Once you have your settings dialed in, the fastest way to apply them across a whole catalog is a proper batch workflow — covered in our guide to batch WebP compression workflows. And if you want to understand how image weight translates into page-speed metrics, read our guide on reducing image size for Core Web Vitals.