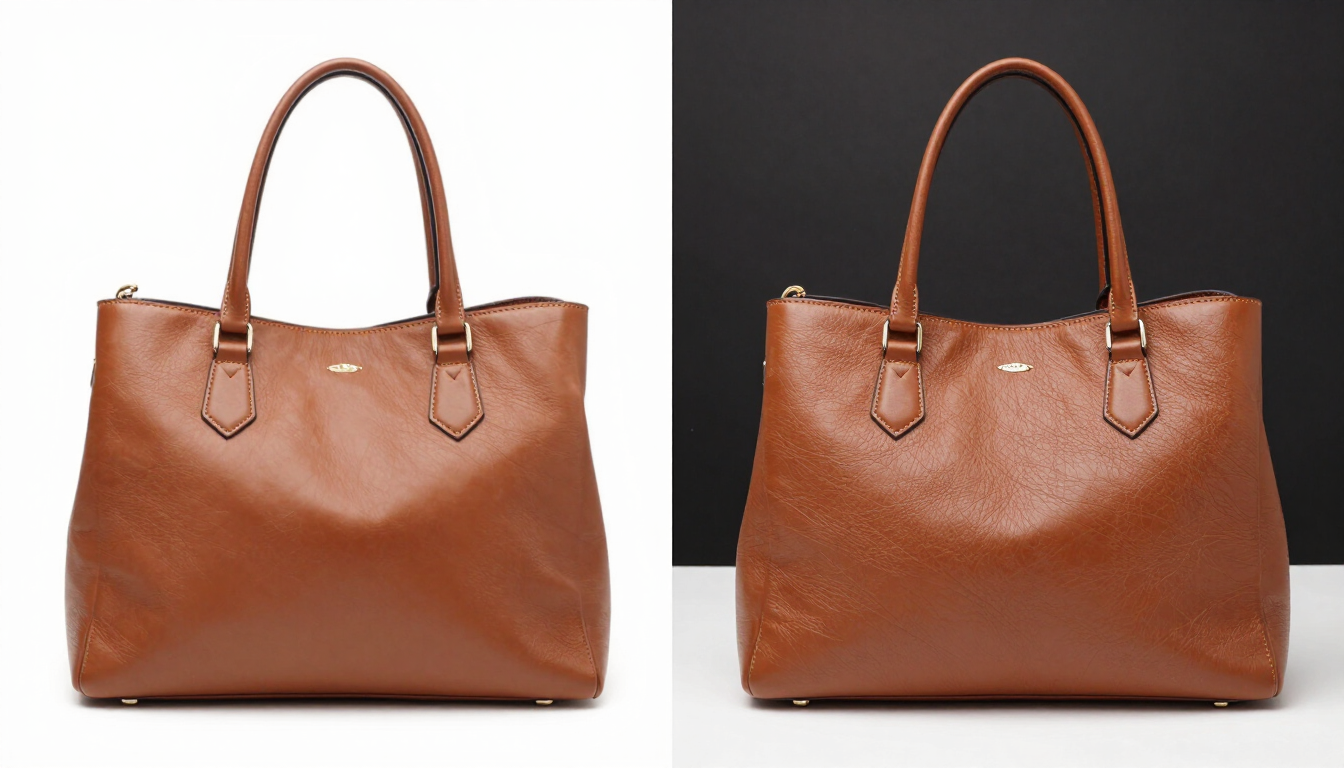
Every Shopify and WooCommerce seller eventually hits the same wall: product photos look great on a photographer’s monitor, but they crush page speed the moment they go live. Converting to WebP fixes most of the problem, but only if you compress it correctly. Get the settings wrong and you either keep files too heavy to matter, or you crush the detail buyers use to judge quality — fabric texture, stitching, grain, reflections.
This guide walks through the exact settings that keep WebP files visually indistinguishable from the original while cutting file size by 50–80%, using the free WebP compressor as the reference tool. We’ll cover the science behind why quality loss happens, the specific numbers that work for different product categories, a worked example from a real catalog, and the common mistakes that quietly destroy image quality.
Why quality loss happens in the first place
WebP’s lossy mode works like JPEG: it discards information the human eye is least sensitive to — subtle color gradients, high-frequency noise, fine detail in busy areas — to shrink the file. Push the quality slider too low and that discarding becomes visible as blotchy color, blurred edges, or blocky artifacts around high-contrast lines (like a product silhouette against a plain background).
The technical name for this is quantization. The encoder transforms the image into frequency components (using a discrete cosine transform, the same math JPEG uses), then rounds off the smallest coefficients based on your quality setting. At high quality, almost nothing is rounded away. At low quality, the rounding is aggressive enough that the reconstructed image develops visible “blocking” artifacts — the checkerboard pattern you sometimes see in heavily compressed JPEGs.
The goal isn’t to avoid this process, it’s to stop it right before it becomes visible to a shopper scrolling on a phone. That threshold is surprisingly consistent across photographic content, which is why a single quality range works for the vast majority of product photography.
The quality setting that works for almost every product photo
Across photographic content, 75–85% WebP quality is a reasonable starting point for product photography. Below 70%, you may start to see visible softness in fabric texture and gradients. Above 90%, file size savings are small for quality gains most shoppers won’t notice. Here’s how each band tends to behave:
- 90–100%: Visually lossless, but file size savings are small (often under 15% versus the source). Reserve for hero banners where you want zero compromise and the image is the page’s focal point.
- 75–85%: The default for product photography. Crisp detail, 50–70% smaller than the source JPEG/PNG. This is where most of your catalog should land.
- 60–70%: Fine for thumbnails, collection grids, and any image displayed under ~400px wide. Detail loss is invisible at small display sizes.
- Below 60%: Only for background or decorative images where detail genuinely doesn’t matter. Product photos at this level start to look cheap, which can hurt perceived product value.
How different product categories respond to compression
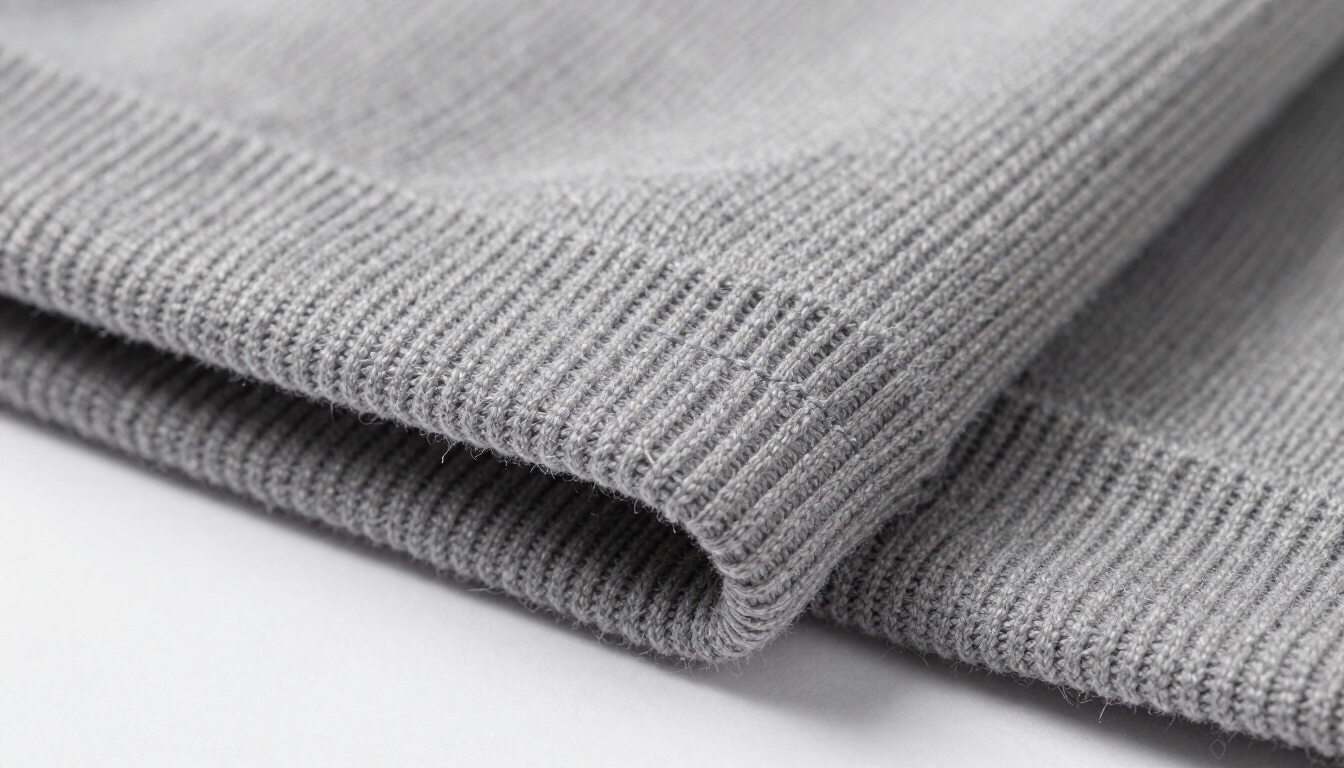
Not every product photo compresses equally. The amount of fine detail in the image determines how aggressively you can compress before quality degrades. Here’s what we see across common e-commerce categories:
| Product category | Detail profile | Safe quality floor | Typical size reduction |
|---|---|---|---|
| Apparel & textiles | High (fabric weave, stitching) | 80% | 55–65% |
| Jewelry & watches | Very high (reflections, facets) | 82% | 45–55% |
| Electronics & gadgets | Medium (smooth surfaces, sharp edges) | 78% | 60–70% |
| Home goods & ceramics | Medium (smooth curves, subtle gradients) | 78% | 60–70% |
| Food & beverages | High (texture, color variation) | 80% | 50–60% |
| Flat-pack / packaging shots | Low (plain backgrounds, simple shapes) | 72% | 65–75% |
Use these as starting points, then adjust based on your own photography style. A jewelry store with macro shots of diamond facets will need a higher floor than a store selling plain cardboard packaging.
Resize before you compress, not after
The single biggest quality-preserving trick sellers miss: resolution matters more than the compression slider. A 4000px camera-original scaled down to a realistic display width (2048px for a full-bleed hero, 1200–1600px for a product page, 800px for a grid thumbnail) will look sharper at 80% quality than a full-resolution image crushed to 50% quality to hit the same file size.
This is because compression artifacts scale with pixel count. A 4000px image at 50% quality has the same artifact size per pixel as a 1200px image at 50% quality — but the 4000px version has roughly 11 times as many pixels, so the artifacts are far more numerous and the file is far larger. Downscaling first removes pixels the shopper will never see, then quality compression works on a cleaner, smaller dataset.
Match the resize width to where the image actually renders, then apply quality on top. The compressor’s platform presets do this automatically for Shopify and WooCommerce image slots. For retina/2x displays, export at roughly 1.5–2x the CSS display width — most modern themes request this, and it keeps images crisp on high-DPI phones without doubling file size unnecessarily.
An illustrative example: compressing a 50-SKU apparel catalog
To make this concrete, here’s an illustrative example of what a single compression pass could look like for a small apparel store with 50 product photos (originally shot on a 24-megapixel camera, exported as JPEG at full resolution). The figures are representative, not from a specific real store — your own results will vary by image and settings.
| Metric | Before | After | Change |
|---|---|---|---|
| Average file size | 3.8 MB | 210 KB | −94% |
| Total catalog weight | 190 MB | 10.5 MB | −94% |
| Max width | 6000px | 2048px | Matched to theme |
| Quality setting | n/a (camera JPEG) | 82% | — |
| Visible quality loss | — | None at 100% zoom | — |
| Product page LCP | 4.1s | 1.8s | −56% |
In this illustrative example, the catalog moves to a “Good” Core Web Vitals score on mobile, with no changes to the theme, no apps installed, and no visible quality difference on product pages. The entire batch could be completed in well under an hour using the WebP compressor’s Shopify product preset at 82% quality. Your own results will depend on your images, settings, and theme.
A repeatable workflow
- Export originals from your camera or design tool at full resolution — don’t pre-compress. Pre-compression throws away detail you can never recover.
- Open the WebP compressor and pick your platform (Shopify or WooCommerce) so the resize presets match your theme’s actual image slots.
- Set quality to 80% as your starting point — the middle of the safe band for most photography.
- Zoom into the preview at 100% and check fabric texture, text on packaging, and any fine detail — not just the overall thumbnail.
- If detail looks soft, raise quality in 5% steps until it doesn’t. If it looks fine, try dropping 5–10% to shave more size.
- Once you land on a setting, note it and batch the rest of the catalog at that same setting for visual consistency.
- Spot-check 3–5 images from the batch at 100% zoom to confirm the setting held across different products.
Common mistakes that destroy quality unnecessarily
Re-compressing an already-compressed JPEG
If your source file was already saved at low JPEG quality, converting it to WebP can’t recover detail that’s already gone — it can only avoid adding more loss. This is called generation loss, and each re-compression cycle compounds it. Always start from the highest-quality original you have. If you only have a low-quality JPEG, accept that the WebP output will be limited by the source and don’t push quality below 80% trying to compensate.
Judging quality from a shrunk thumbnail
Compression artifacts are far more visible at 100% zoom than in a small preview. A 200px thumbnail can hide artifacts that would be obvious on a 1200px product page. Always check a full-size crop of a detailed area before committing to a setting for your whole catalog.
Using one setting for every image type
A hero banner deserves a higher quality setting than a collection-grid thumbnail that displays at 300px wide. Segment your compression settings by where the image is actually used. The settings guide breaks down recommended quality and width targets per image role.
Ignoring the source color profile
If your photographer delivered images in Adobe RGB or ProPhoto RGB, the colors may look muted or shifted when displayed in a browser (which assumes sRGB). Convert to sRGB before or during compression — the compressor handles this automatically, but if you’re pre-processing elsewhere, make sure the final export is sRGB. Wrong color profiles are a subtle quality problem that no amount of compression tuning will fix.
When to use lossless WebP instead
Lossy WebP is right for almost all photography, but a few image types in a store benefit from lossless mode: logos with hard edges, flat-color icons, screenshots with sharp text, and any graphic where lossy compression introduces visible fuzz or halos around edges. Lossless WebP behaves like PNG but is typically 20–30% smaller. Don’t use it for photos — lossless WebP files for photography are 3–5x larger than lossy with no perceptible quality gain.
Verify your results
After compressing, compare original size to output size directly in the tool’s summary bar. As a rule of thumb, a well-tuned product photo should land between 80KB and 250KB depending on dimensions — anything larger is usually a sign quality is set higher than it needs to be for that image’s display size. Anything dramatically smaller (under 40KB for a full product image) may indicate over-compression worth a visual check.
For a final QA pass, load a compressed product page on an actual mid-range phone over a throttled connection (Chrome DevTools’ “Slow 4G” preset is a good proxy). If the page feels snappy and the images look clean, your settings are right. Once you’re happy with a setting, it works for your entire catalog — head back to the main compressor to batch the rest of your product photos in one pass, and read our batch workflow guide for the full process.